OXO Good Tips Blogs: Cooking & Baking
How To Make Delicious Homemade Ice Cream Without A Machine
There’s nothing more satisfying than learning how to make homemade ice cream—and despite what you might think, you don’t need a machine to prepare this tasty treat. Our easy-to-make ice cream recipe is perfect for quickly whipping up a batch on a hot summer day. OXO Good Tips Blog | 9th July 2024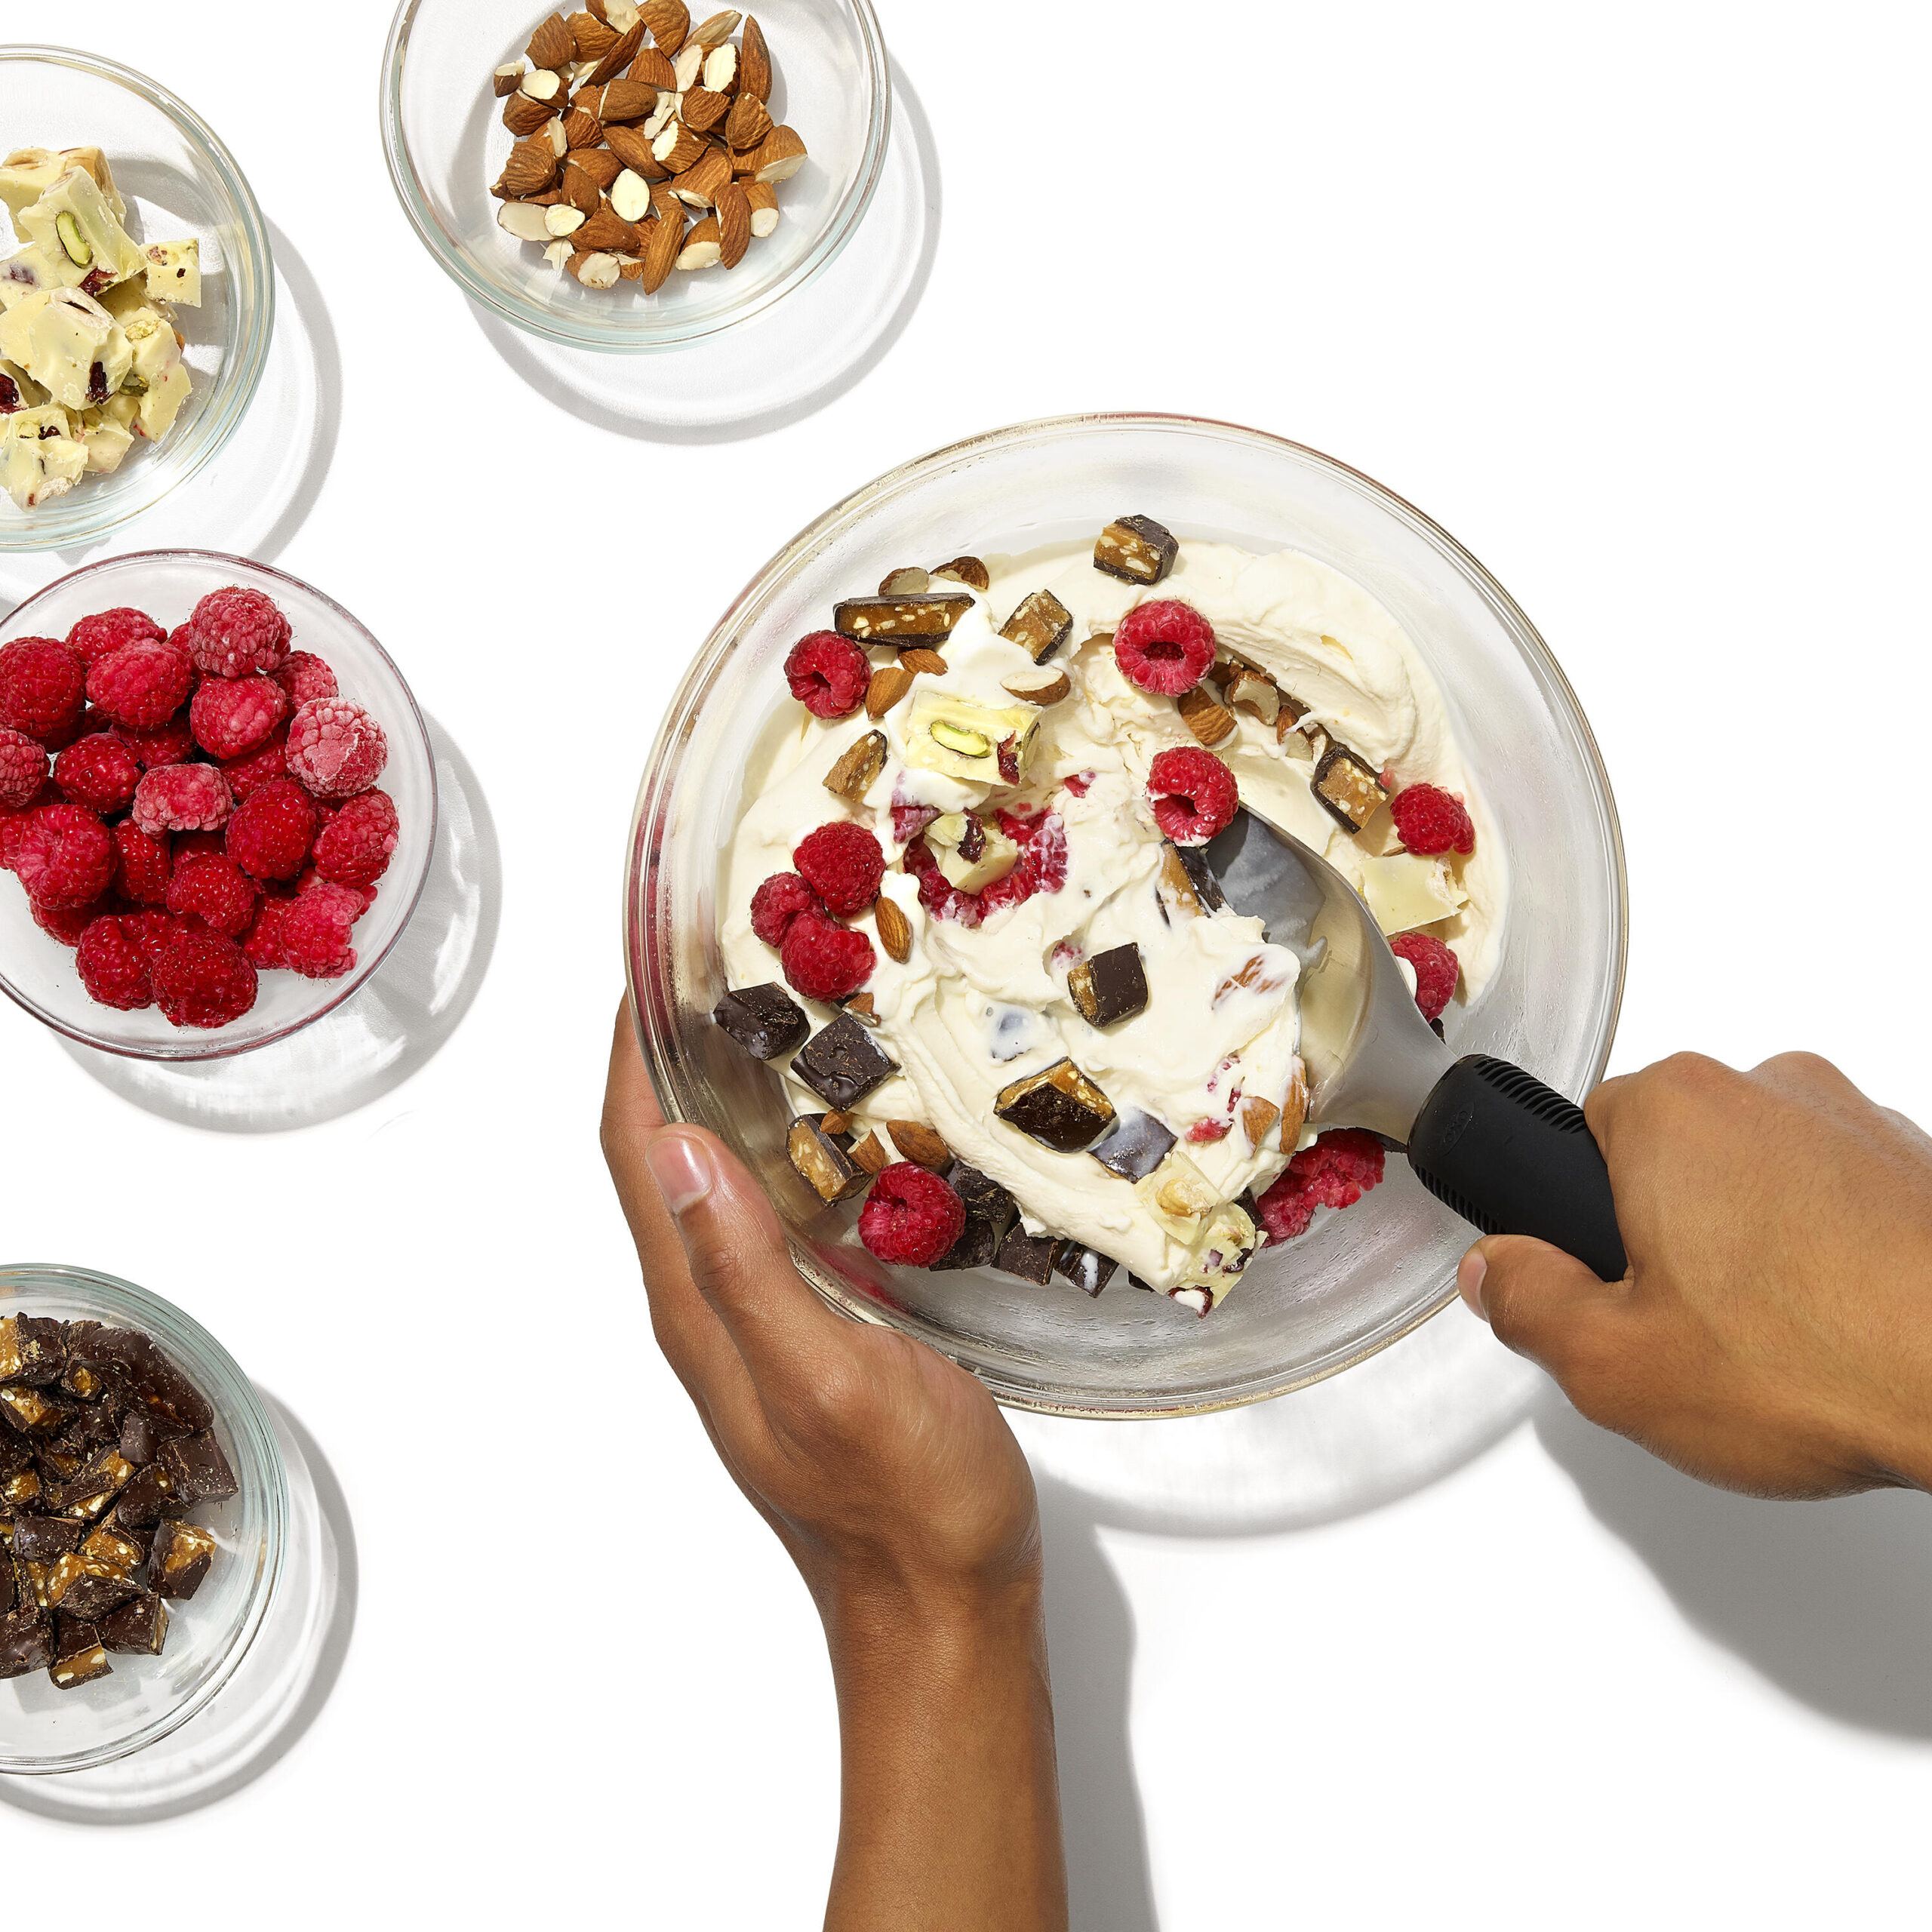
Is there anything more summer than ice cream? A scoop or two (or three) is the perfect way to pass a hot afternoon outside and best of all, it’s a crowd-pleasing dessert that doesn’t involve heating up the kitchen—all you need is the right ice cream recipe and a few key kitchen tools.
We’ve read about a lot of methods to make ice cream without a machine. From this custard-based method to the old plastic bag method to the infamous one ingredient banana ice cream trick, there are a lot of options out there for making frozen deliciousness without an ice cream maker.
After trying them out, we’re here to share our favorite method, along with a few ideas for ice cream flavors and toppings. Got a Good Tip? Be sure to let us know in the comments. We’re always looking for a better way to do things at OXO, even if that means testing ice cream each week. (Hey, somebody’s gotta do it!)
Key Tools to Make Ice Cream Without a Machine
Instead of a machine, a hand-mixer or egg beater will do most of the heavy-lifting when making homemade ice cream. In addition to that, you’ll need a few other tools to go from a bowl of heavy cream to a container of summery goodness, and of course, you’ll want an ice cream scoop on hand.No-Machine Necessary Ice Cream Recipe
Ingredients:
420ml of sweetened condensed milk
2 cups heavy cream
1 teaspoon vanilla extract or another flavoring (see more below for ideas)
Instructions:
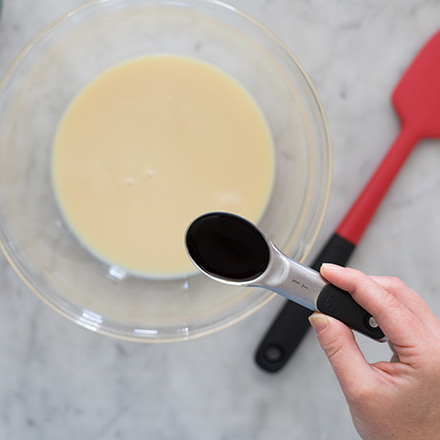
Pour sweetened condensed milk into a large bowl and whisk in vanilla extract, if using. In another bowl, use a hand mixer or your favorite tool to whip the heavy cream to stiff peaks, about 3-4 minutes.
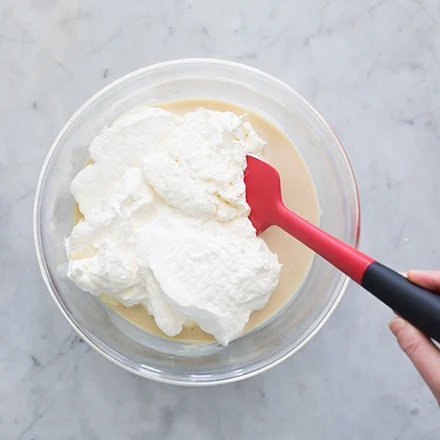
Using a spatula, gently fold the whipped cream into the condensed milk, working a bit at a time. Fold until it is just incorporated, taking care not to overmix.
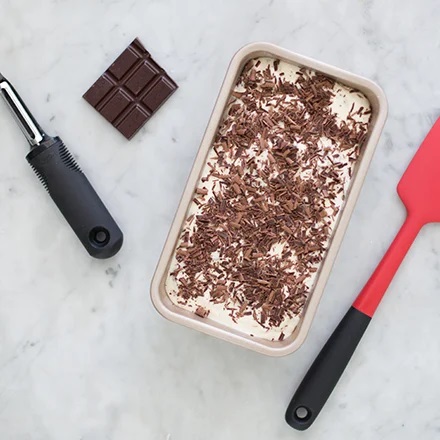
Spread the cream mixture in a freezer-safe pan and smooth the top evenly. We like to use either a loaf pan or a sealable glass container. Then, place a piece of wax paper directly on top of the mixture. This will help prevent ice crystals from forming.
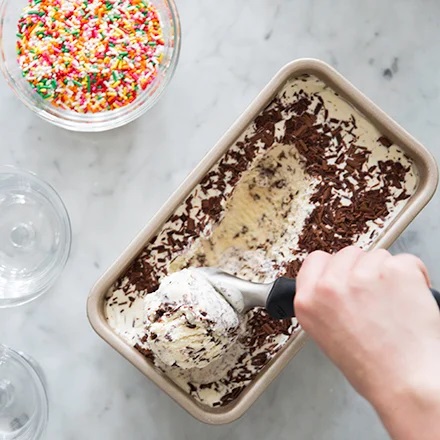
Freeze for 6-8 hours before scooping into your favorite dish and topping with sprinkles.
Homemade Flavorings & Toppings
Flavorings: Any extract works well here, such as almond or mint. You can also infuse the cream with flavor before it’s whipped. To do this, heat the cream until it begins to give off a bit of steam, then turn off the heat and add an ingredient to steep while the cream returns to room temperature. We like to pack a Twisting Tea Ball with earl grey or chai tea, to make it easy to steep and strain. Other flavor options include coarsely ground coffee or spices like cardamom, anise or cinnamon. Once the flavor tastes good and strong, be sure to re-chill the cream before whipping. Toppings: For this method, we like to add toppings directly into our personal bowls to make sure they’re evenly distributed. If you do want to add mix-ins, we recommend trying something on the lighter side, like a drizzle of melted chocolate. It’s easy, just add a bit of the ice cream mixture to the pan, then add a layer of mix-ins and repeat until finished.We doubt it will last this long, but frozen ice cream should keep up to two weeks tightly covered in the freezer—you can store it next to those delicious no-bake desserts you also whipped up!
Plus, try these easy party dessert ideas, fun homemade popsicles, homemade frozen yogurt cups, and delicious frozen coffee treats.


